Why Spotting Is Necessary
No matter how careful you are with film handling and darkroom cleanliness, finished prints almost always show small white spots caused by dust on the negative during enlargement. Each speck of dust blocks light, leaving an unexposed white spot on the print. Spotting is the process of filling in these white spots to match the surrounding tone, making them invisible.
Spotting Dyes vs. Pencils
Spotting Dyes
Dyes (such as Spotone or Marshall's Photo Oils) are the professional standard for spotting silver gelatin prints. They penetrate the emulsion and become part of the print surface, making them invisible when done well.
- Spotone #3: Neutral black

, matches most cold-tone papers
- Spotone #0: Blue-black, for very cold-tone papers
- Spotone blends: Mix Spotone colors to match your specific paper/developer/toner combination
Graphite Pencils
For matte and semi-matte papers, a sharp graphite pencil (HB to 4H) can fill in spots effectively. The pencil lead sits on the paper surface and works best on textured papers where it catches in the tooth.
- Works on matte and semi-matte surfaces only
- Easier to learn than dye spotting
- Cannot be used on glossy papers (pencil marks are obvious)
Dye Spotting Technique
Equipment
- Spotting dyes matched to your paper tone
- A very fine brush (size 000 or 0000 sable watercolor brush)
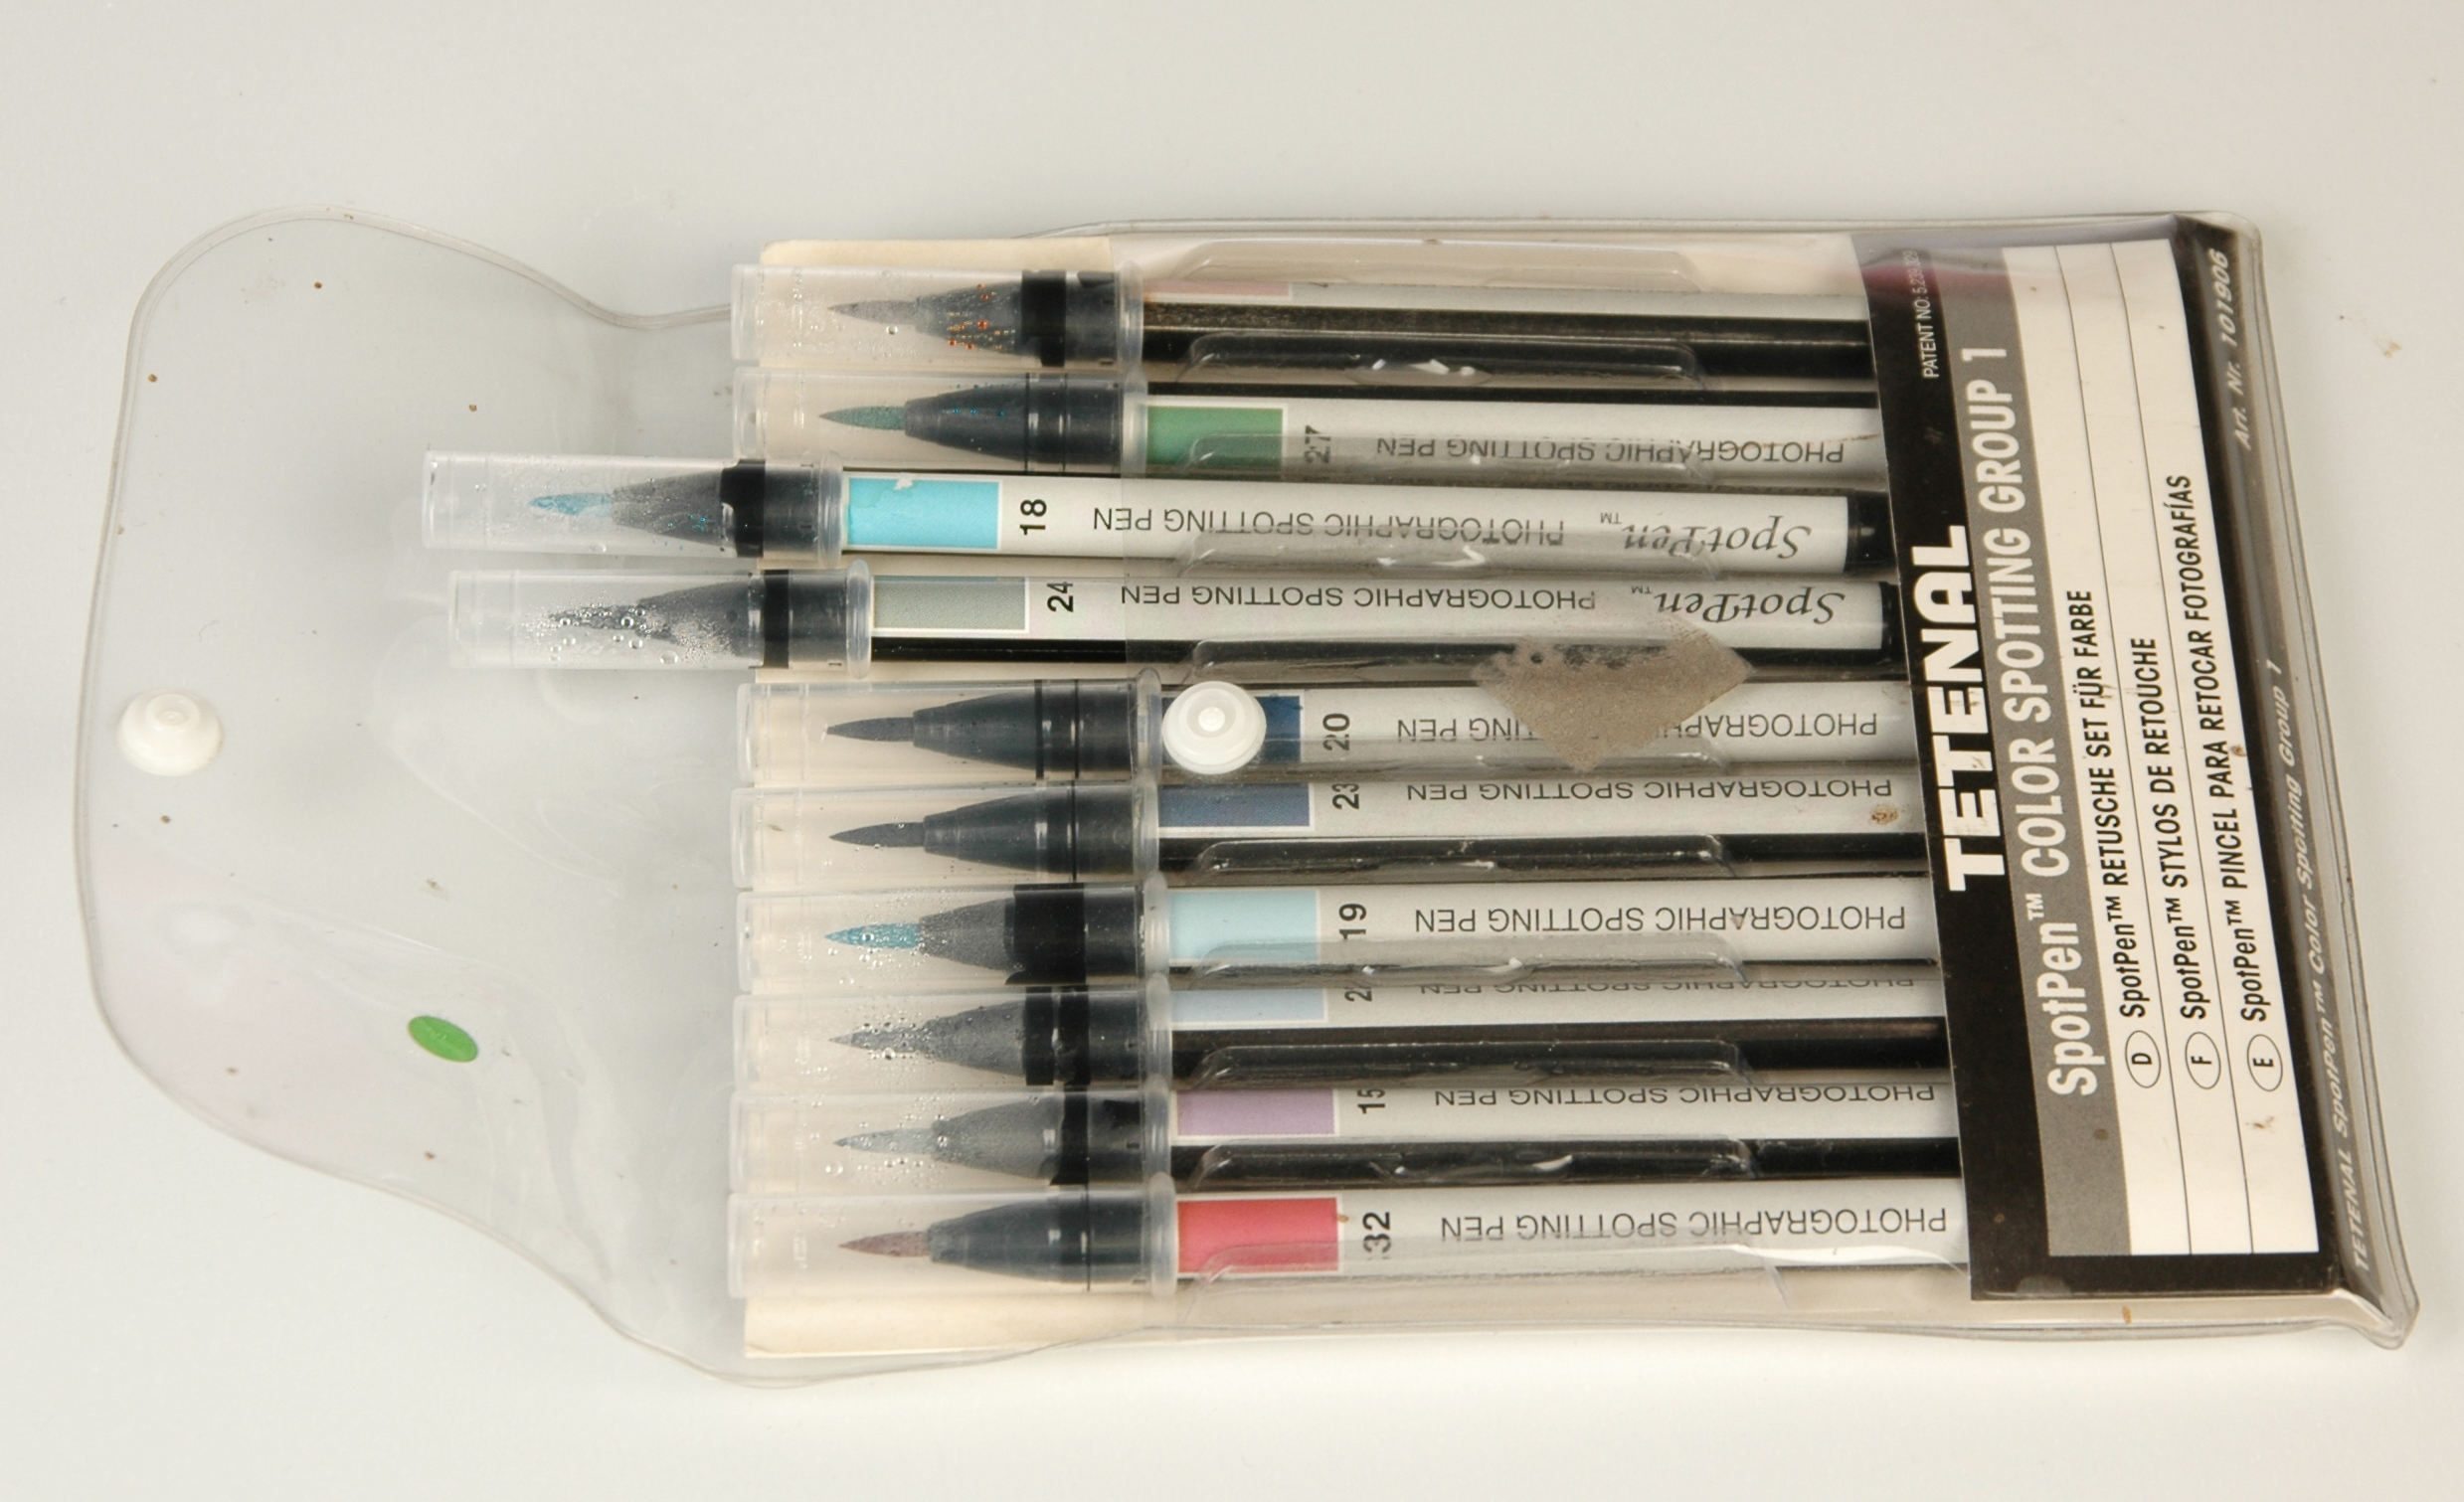
- A small palette or white ceramic tile for mixing
- A piece of scrap print for testing tone matches
Procedure
- Match the tone: Put a tiny amount of dye on your palette. Dilute it until it is slightly lighter than the surrounding print area. Test on a scrap piece of the same paper.
- Work dry: The brush should be almost dry -- just barely damp. A wet brush will create a blob instead of a dot.
- Build up gradually: Apply the dye in a stippling motion, using many tiny dots rather than trying to fill the spot in one stroke. Build density gradually until it matches the surrounding area.
- Work from light to dark: Start lighter than you think you need. You can always add more dye, but you cannot remove it.
Common Mistakes
- Too wet: The dye bleeds into surrounding areas. Wipe the brush on a paper towel until nearly dry.
- Too dark: The spot becomes a dark mark that is more visible than the original white spot. Always start lighter.
- Scrubbing: Rubbing the brush back and forth damages the emulsion surface. Use a gentle stippling or dotting motion.
Black Spots
Dark spots (caused by pinholes in the negative) are much harder to fix. They require:
- Etching: Carefully scraping the emulsion with a sharp blade to remove silver. This only works on fiber-based papers and requires considerable skill.
- Bleaching: Applying a tiny dot of Farmer's Reducer with a brush to lighten the spot, then spotting to match.
Tips
- Spot prints before toning. Dyes may react differently to toners than the print's silver.
- Work in good, bright light -- preferably daylight or a daylight-balanced desk lamp.
- A magnifying loupe or headband magnifier helps enormously for fine work.
- Practice on scrap prints before working on exhibition prints. Spotting is a manual skill that improves significantly with practice.